Leave Your Message

How to Choose the Right Push Up Bra?

Choosing a Push Up Bra is not simply a search for more lift. It is a balance of support, shape, comfort, and the clothes you plan to wear. Grand View Research’s 2024 lingerie market report estimated the global lingerie market at USD 92.7 billion in 2023, with projected growth through 2030. That figure covers lingerie broadly, not push-up bras alone. Still, it shows how many shoppers navigate a crowded market.

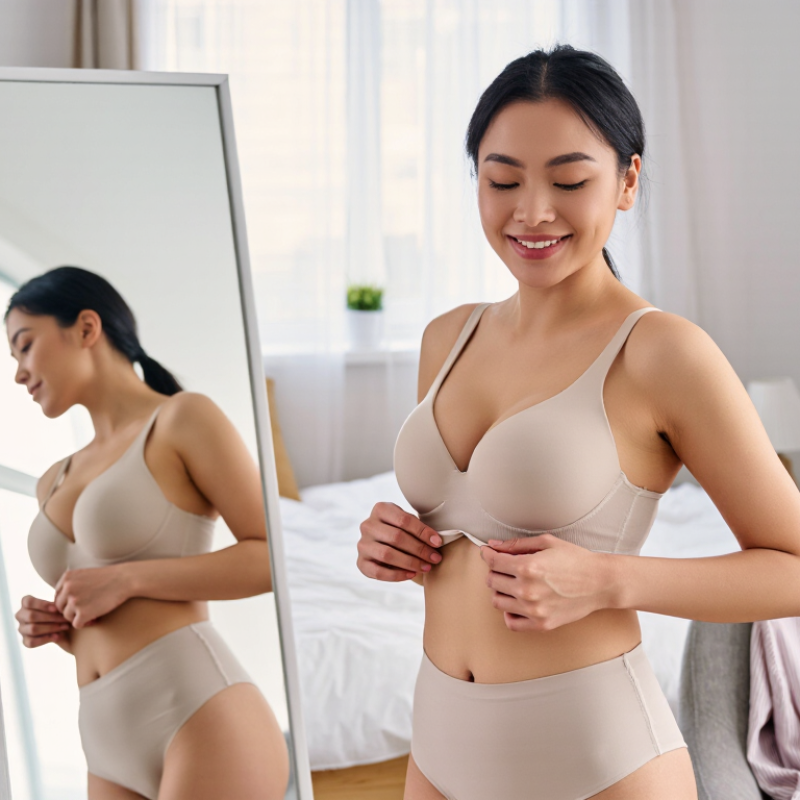
Fit matters more than dramatic padding. A well-chosen band should sit level around your ribs, while the cups should hold breast tissue without spilling or leaving obvious gaps. Straps can help fine-tune the fit, but they should not carry all the support. Try the bra with a familiar shirt: notice where the neckline falls, whether the cups show through, and how the band feels when you sit and move. Small details count.

Start with your usual size, then compare nearby sizes because brands and styles vary. Consider wire shape, padding, fabric, and closure, along with the lift you actually want. More lift is not always better. A snug fitting-room mirror check can also miss discomfort after several hours. No guide can replace trying a bra on your own body. This guide explains how to choose a Push Up Bra with practical fit checks, clear trade-offs, and realistic expectations. One caveat: comfort can change during the day.

How to Choose the Right Push Up Bra?

Understand How Push-Up Bras Create Lift and Cleavage

A push-up bra creates lift through shaped padding, usually placed along the lower or outer cup. This padding gently guides breast tissue upward and toward the center, which can make cleavage more visible. The effect depends on your natural shape and the bra’s design; it will not look identical on every body. A firm, level band provides much of the support. If it rides up, the cups may not sit securely, even when the straps feel tight.

Tips: Check the fit while standing and seated. The center panel should rest close to your chest, and breast tissue should stay inside the cups without spilling. Try a snug band with adjustable straps, then move your arms. Still comfortable? Good sign. A mirror can help, but comfort matters more than a dramatic look.

Padding thickness is only one detail. A lower-cut cup may suit a plunging neckline, while wider-set padding can create a softer shape. If the bra pinches, leaves red marks, or shifts as you move, try another size or style. It is easy to chase extra lift and overlook pressure; honestly, that trade-off is not always worth it. A well-fitting push-up bra should feel secure, not restrictive.

Measure Your Size and Assess Your Breast Shape

How to Choose the Right Push Up Bra?

Measure your size and assess your breast shape before judging a push-up bra by its label. Wear a lightly lined, non-padded bra, then measure snugly around your rib cage and across the fullest part of your breasts. Keep the tape level; a tilted tape can change the result. Compare both measurements with the same sizing chart, since sizing can vary between makers. A 2006 peer-reviewed study by McGhee and Steele assessed bra fit in 104 women and documented fit problems, a reminder that the number on a tag is only a starting point.

Next, notice your breast shape and spacing. If tissue is fuller at the bottom, a cup with a lower neckline may sit more smoothly. If breasts are wide-set, check whether the center gore rests comfortably against your chest. For close-set breasts, a narrow gore may feel less intrusive. Try the bra on the loosest hook: the band should stay level, while cups should contain tissue without wrinkles or spilling. Push-up padding can shift tissue, so reassess the fit after adjusting the straps. Bodies change. Recheck when your usual fit feels different.

Tips: Scoop each breast gently into the cup, then move your arms and bend forward. Check for digging, gaping, or slipping. If possible, compare two nearby sizes; comfort is useful evidence, not a flaw in your measuring.

How to Choose the Right Push Up Bra? - Measure Your Size and Assess Your Breast Shape

Use these steps as a starting point. Bra sizing and cup construction vary between manufacturers, so use your measurements alongside the fit checks below.

Measure and assess your fit
What to check How to do it What to look for How it guides your choice
Underbust measurement Wrap a soft measuring tape around your ribcage directly beneath your breasts. Keep it level and comfortably snug, and breathe normally. Record the measurement in inches or centimetres. The tape should not ride up at the back or feel painfully tight. Use it as a starting point for band size. Size charts differ, so check the chart for the bra you are considering rather than relying on a single conversion rule.
Bust measurement Measure around the fullest part of your breasts while wearing a non-padded, well-fitting bra or no bra. Keep the tape level without compressing breast tissue. Record the measurement without pulling the tape tight. Recheck that it is parallel to the floor. Compare this measurement with your underbust measurement using the relevant size chart. The difference can help estimate cup volume, but cup letters are not standardized across all brands.
Breast shape and fullness Notice where your breast tissue is fullest: toward the top, toward the bottom, evenly distributed, or more toward the outer sides. Assess your shape without judging it as better or worse. Shape can affect how a cup sits even when the band measurement is correct. Upper fullness may suit a more open neckline; lower fullness may feel comfortable in a cup with supportive lower coverage. Even or outer fullness may suit a cup that contains tissue smoothly without digging in.
Centre fullness and spacing Observe whether your breasts sit closer together or farther apart, and whether tissue is fuller near the centre or outer sides. Look for a centre panel that rests comfortably against your chest when the style is designed to sit there. Do not force a close-set shape into a wide centre panel. A lower or narrower centre front may feel more comfortable for some close-set shapes. A wider centre front can provide a better match for some wider-set shapes.
Push-up padding and lift Check where the padding sits and whether it lifts from below or adds volume at the sides. Try the bra with the straps adjusted comfortably. Breast tissue should remain inside the cups without bulging over the top, sides, or centre. Padding should not create uncomfortable pressure. Choose the amount and placement of padding for the look and comfort you want. A lightly padded style may be easier to fit than a heavily padded style if cup volume is difficult to match.
Band and wire fit Fasten a new bra on the loosest hook and check the band around your body. If it has underwires, check that they follow the breast crease. The band should feel firm and level. Wires should not sit on breast tissue, poke, or dig sharply into the body. If the band rides up, it may be too loose. If wires sit on breast tissue or the cups cut in, try a different cup size or cup shape before tightening the straps.
Final fit check After putting the bra on, gently lean forward and adjust breast tissue into the cups. Move your arms and check the fit while standing naturally. Look for smooth cup edges, a stable band, comfortable straps, and no persistent gaping or spilling. A good fit should feel secure without restricting breathing or causing pain. If discomfort remains, try another size or style.

Helpful note: Measure on bare skin or over a thin, unpadded bra, and remeasure if your body changes. Push-up bras can alter the appearance of cleavage, but comfort and a secure fit should come first.

Choose the Right Padding, Lift Level, and Coverage

Choose padding based on the shape you want and how the bra feels against your body. Thin, graduated padding can add gentle fullness while keeping the cup’s outline subtle. For a more noticeable boost, thicker padding near the bottom or sides can bring breast tissue inward and upward. Removable inserts offer flexibility, though they may shift during wear. Less can work.

Lift level affects both appearance and comfort. A moderate lift often suits everyday wear, while a stronger lift may work better with a low neckline or a specific outfit. Check that the band sits level across your back and feels snug without restricting a deep breath. Raise your arms and sit down during a fitting; cups should stay in place without digging in. It is easy to overestimate how much lift you need, and a dramatic shape may feel tiring after several hours.

Coverage should match your neckline, clothing, and how much support you prefer. Fuller cups can help limit spillage at the top or sides, especially if breast tissue shifts when you move. Plunge styles suit lower-cut tops, but check that the center gore rests comfortably against your chest. Under a thin T-shirt, smooth cup edges and seams are easy to notice. Sizing charts help, but they are not perfect; if you fall between sizes, compare how each option fits rather than relying on the number alone.

Match the Bra Style to Your Outfit and Activities

How to Choose the Right Push Up Bra?

Match the Bra Style to Your Outfit and Activities

A push-up bra should work with your neckline, fabric, and plans. For a deep V-neck, choose a plunge style that stays hidden when you lean forward. Under a thin T-shirt, smooth, lightly molded cups reduce visible seams. A balconette shape can suit wider necklines, while a strapless style needs a firm, level band to stay put. Check the fit in motion, not just in the mirror. Fit is personal.

Activity matters, too. Push-up bras are designed for shaping, not necessarily impact control. A 2013 study in the Journal of Sports Sciences found that high-support bras reduced breast displacement during running by about 74% compared with no bra. For running, jumping, or brisk workouts, choose a sports bra with support suited to your activity. For a quiet day or dinner out, a push-up style may feel more appropriate. The distinction is easy to overlook.

Check the Fit, Comfort, and Support Before Buying

How to Choose the Right Push Up Bra?
Check the Fit, Comfort, and Support Before Buying

A push-up bra should feel supportive, not restrictive. Check that the band sits level around your body and stays in place when you raise your arms. It should feel snug, but you should still be able to slide two fingers underneath. The cups should contain your breast tissue without spilling or wrinkling. Small details matter. If the center panel lifts away from your chest, try another size or shape.

Comfort can change as you move. Sit, reach, and take a few deep breaths while trying the bra on. Notice whether the straps dig into your shoulders or the wire presses under your arms. Fit guides are useful, but sizing charts can be imperfect, and different cuts may feel surprisingly different. Don’t ignore discomfort just because the mirror looks good. I’ve found that a tiny adjustment can help, though sometimes the style simply isn’t right.

Tips: Try the bra over a thin top to check the shape under clothing. Adjust the straps before judging the fit. If the band rides up or the cups gape, test a nearby size. The right amount of lift should feel steady through a normal day, not like something you need to keep fixing.

How to Choose the Right Push-Up Bra: Check Fit, Comfort, and Support Before Buying

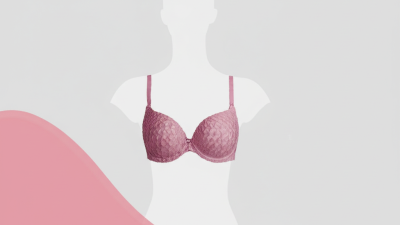
This chart shows a common US sizing convention: cup letters roughly correspond to the difference between bust and underbust measurements. Treat it as a starting point, since sizing conventions vary. When trying on a bra, check that the band sits level and feels snug, the cups lie smoothly without gaping or spilling, and the straps stay comfortable without carrying most of the support.